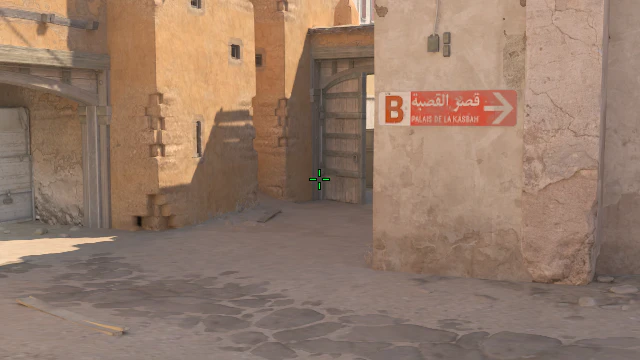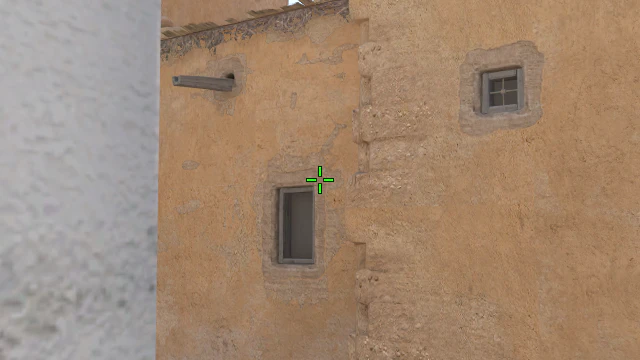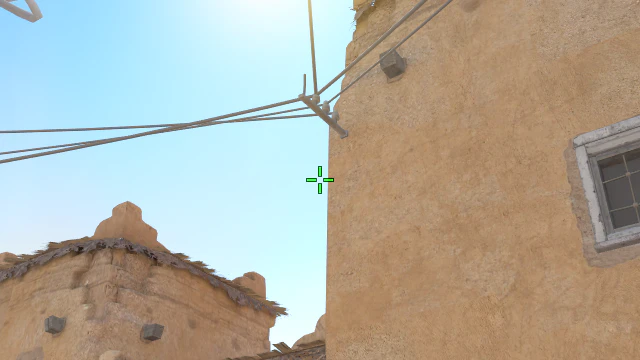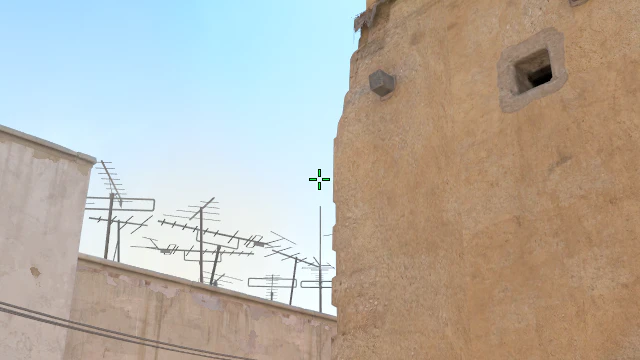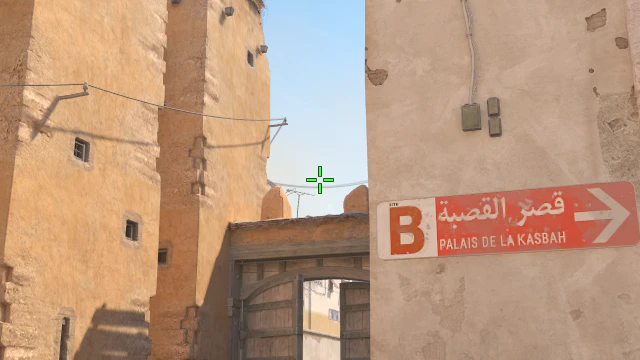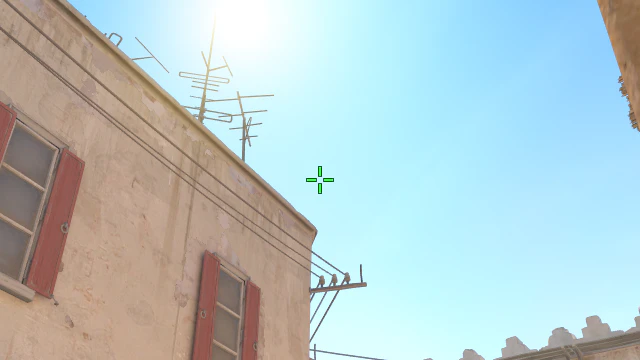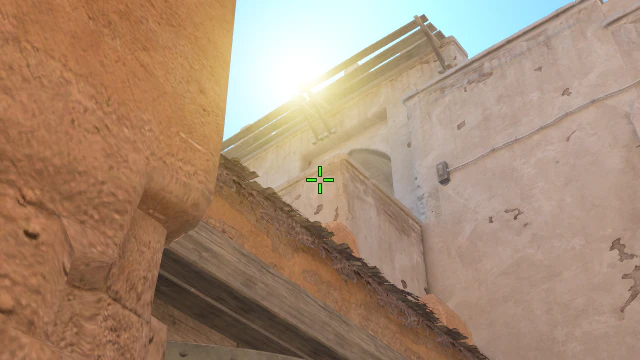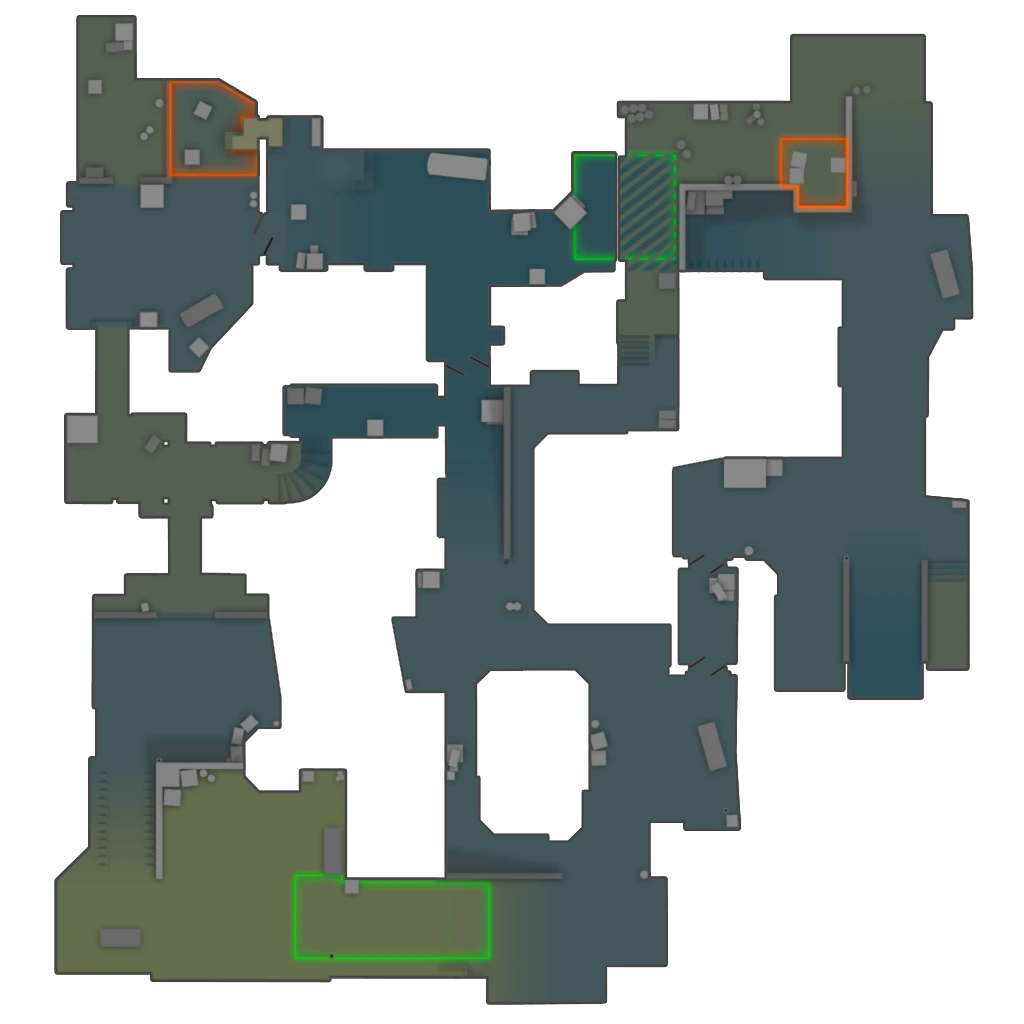
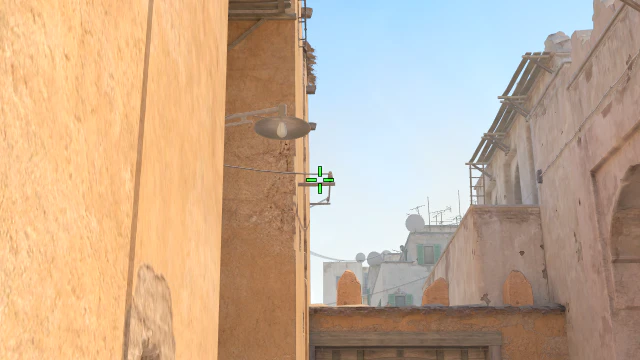
Mid Flash from Mid B (Standing throw)
Flash  CT
CT thrown 191 times · thrown in <1% of Dust 2 rounds
#13 · blinds 1.6 enemies · 5.0 s · 75% team flash
211 lineups · all time
8 lineups · by pro use and results
CT #13 · blinds 1.6 enemies · 5.0 s · 75% team flash
CT #25 · blinds 1.5 enemies · 4.7 s · 44% team flash
CT #34 · blinds 1.5 enemies · 4.5 s · 93% team flash
CT #92 · blinds 1.0 enemies · 2.4 s · 91% team flash
CT #94 · blinds 1.4 enemies · 4.9 s · 38% team flash
CT #98 · blinds 1.6 enemies · 5.0 s · 100% team flash
CT #131 · blinds 1.3 enemies · 3.8 s · 60% team flash
CT #196 · blinds 2.2 enemies · 4.7 s · 0% team flash
Pros throw 8 Dust 2 flashbang lineups that land at Mid, ranked here by pro use. The most used is Dust 2 Mid Flash from Mid B (Standing throw).
Strat book: pro executes for Dust 2