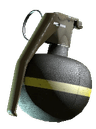
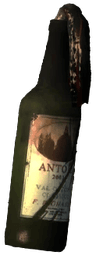
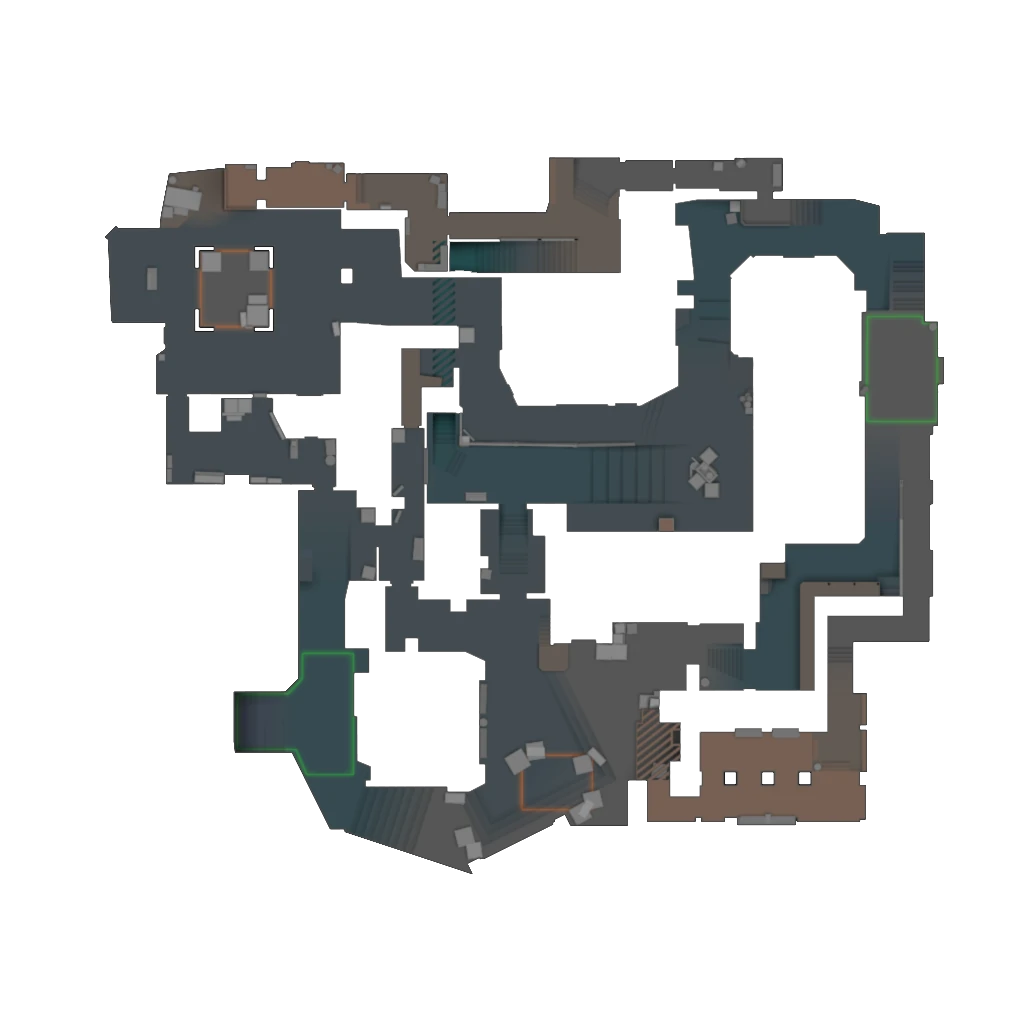
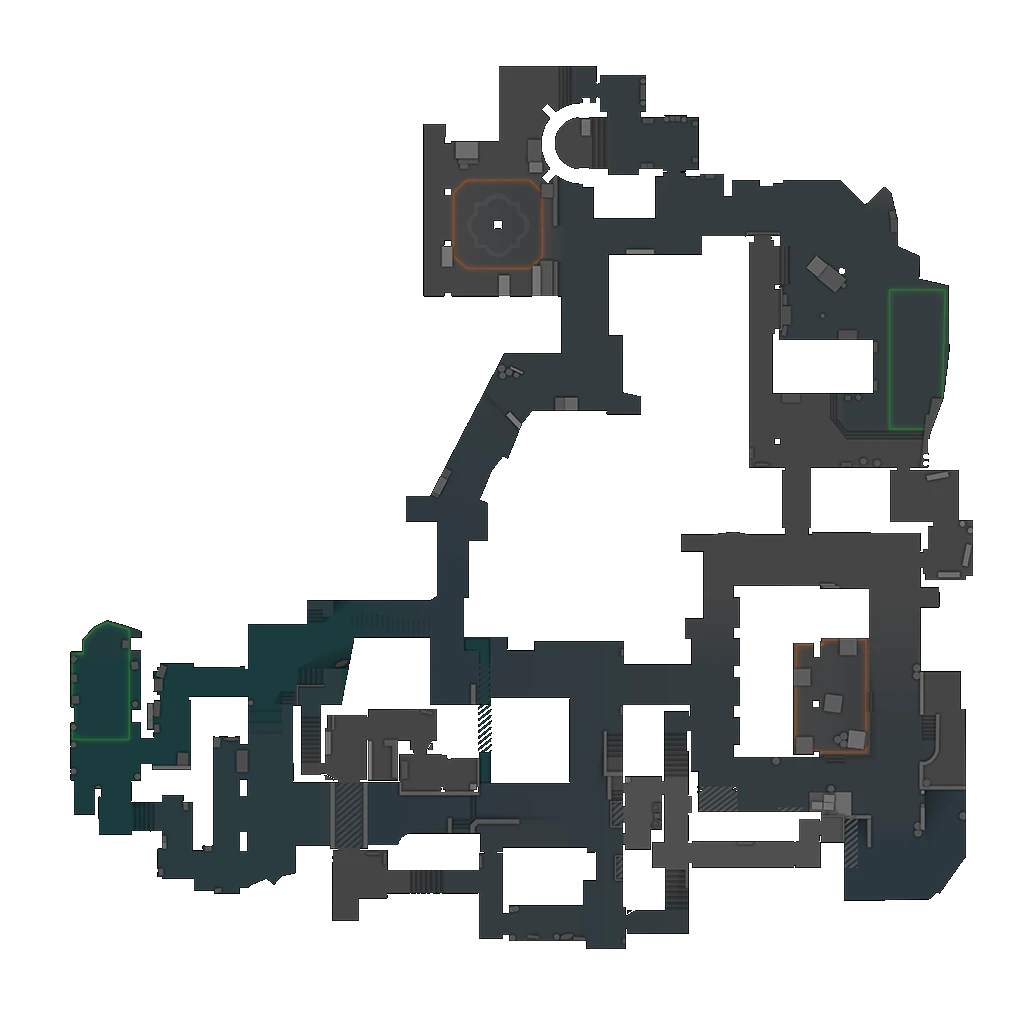
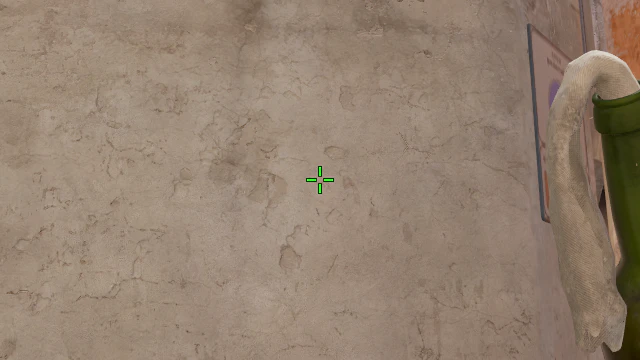
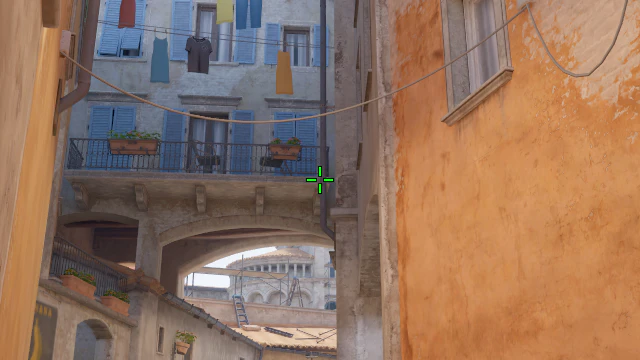
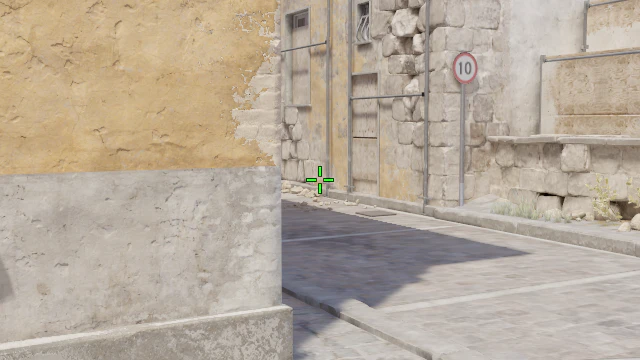
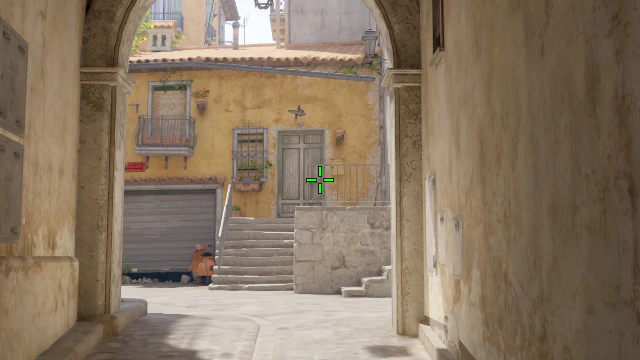
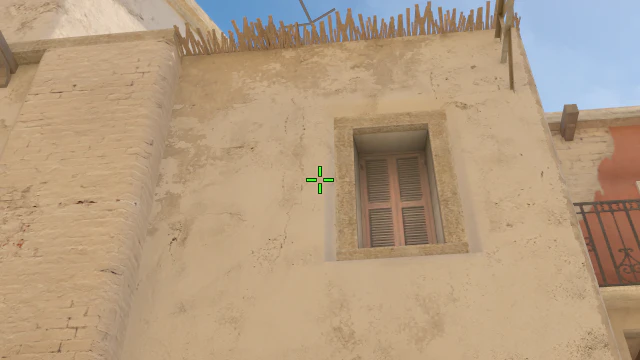
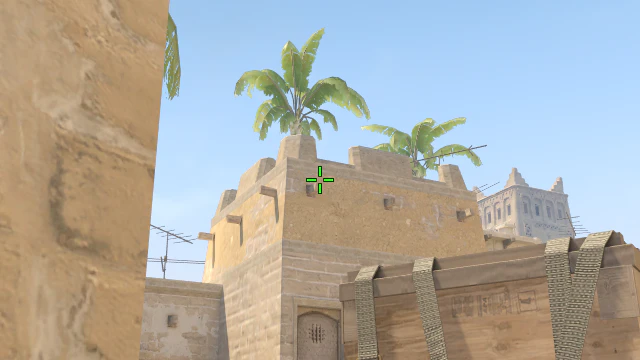
912 Window and Top Mid smokesMirage T 2 12 rounds6·6PARIVISION: ran it in 6 rounds, won R7, R8, R9, lost R3, R4, R6; Vitality: ran it in 6 rounds, won R14, R18, R19, R21, lost R15, R16
12 Stairs and Jungle smokesMirage T 2 Solo5 rounds3·2PARIVISION: ran it in 3 rounds, won R8, R9, R10; Vitality: ran it in 2 rounds, won R14, R19
12 Jungle smoke and Balcony molotovMirage T 1 1 5 rounds2·3PARIVISION: ran it in 2 rounds, won R10, lost R3; Vitality: ran it in 3 rounds, won R13, R14, R21
12 Jungle smoke and A Default flashMirage T 1 1 Solo4 rounds3·1PARIVISION: ran it in 3 rounds, won R8, R10, lost R3; Vitality: ran it in 1 round, won R19
12 Jungle smoke and Ramp flashMirage T 1 1 4 rounds2·2PARIVISION: ran it in 2 rounds, won R5, R9; Vitality: ran it in 2 rounds, won R14, R19
12 Jungle smoke and Jungle flashMirage T 1 1 Solo4 rounds1·3PARIVISION: ran it in 1 round, won R8; Vitality: ran it in 3 rounds, won R13, R21, lost R15
5Car Molotov from T Stairs, InfernoInferno molotov T 19× thrown 19 times · in 1 of 2 maps of this series·7·12PARIVISION: thrown 7 times, 7 on T; Vitality: thrown 12 times, 12 on T
Half Wall Flash from Bottom Banana, InfernoInferno flash T 12× thrown 12 times · in 1 of 2 maps of this series·5·7PARIVISION: thrown 5 times, 5 on T; Vitality: thrown 7 times, 7 on T
Half Wall HE from CT, InfernoInferno HE CT 9× thrown 9 times · in 1 of 2 maps of this series·2·7PARIVISION: thrown 2 times, 2 on CT; Vitality: thrown 7 times, 7 on CT
4Top Mid Lurk Smoke from T Spawn, InfernoInferno smoke T Lurk 8× thrown 8 times · in 1 of 2 maps of this series·5·3PARIVISION: thrown 5 times, 5 on T; Vitality: thrown 3 times, 3 on T
5Window Insta Smoke from T Spawn 5, MirageMirage smoke T Insta 8× thrown 8 times · in 1 of 2 maps of this series·3·5PARIVISION: thrown 3 times, 3 on T; Vitality: thrown 5 times, 5 on T
13Mid Flash from Triple, MirageMirage flash CT 8× thrown 8 times · in 1 of 2 maps of this series·7·1PARIVISION: thrown 7 times, 7 on CT; Vitality: thrown once, 1 on CT